Water Softener Installation: How to Safely Connect Drain Tubing and Prevent Leaks
Installing a water softener is a valuable home upgrade that improves water quality by reducing hardness-causing minerals like calcium and magnesium. However, water softener installation involves several careful plumbing tasks, including connecting the drain tubing properly to avoid leaks or drainage problems. A proper setup ensures the system works efficiently and prevents water damage to your property.
This comprehensive guide will take you through the key steps of connecting the drain tubing during water softener installation, highlight common pitfalls that cause leaks, and share tips to make the process smooth and safe.
Understanding the Drain Tubing Role in Water Softener Installation
The drain tubing is a vital part of the water softener system. During the regeneration cycle, the system flushes out accumulated minerals through the drain tubing, sending them away safely. Without a properly installed drain line, this waste water could back up, leak, or contaminate your household plumbing.
When planning your water softener installation, you must ensure the drain tubing is connected securely and positioned to prevent backflow or leaks. This includes respecting plumbing codes and maintaining an air gap to keep wastewater from siphoning back into your softener or water supply.
Selecting the Proper Location for Water Softener Installation
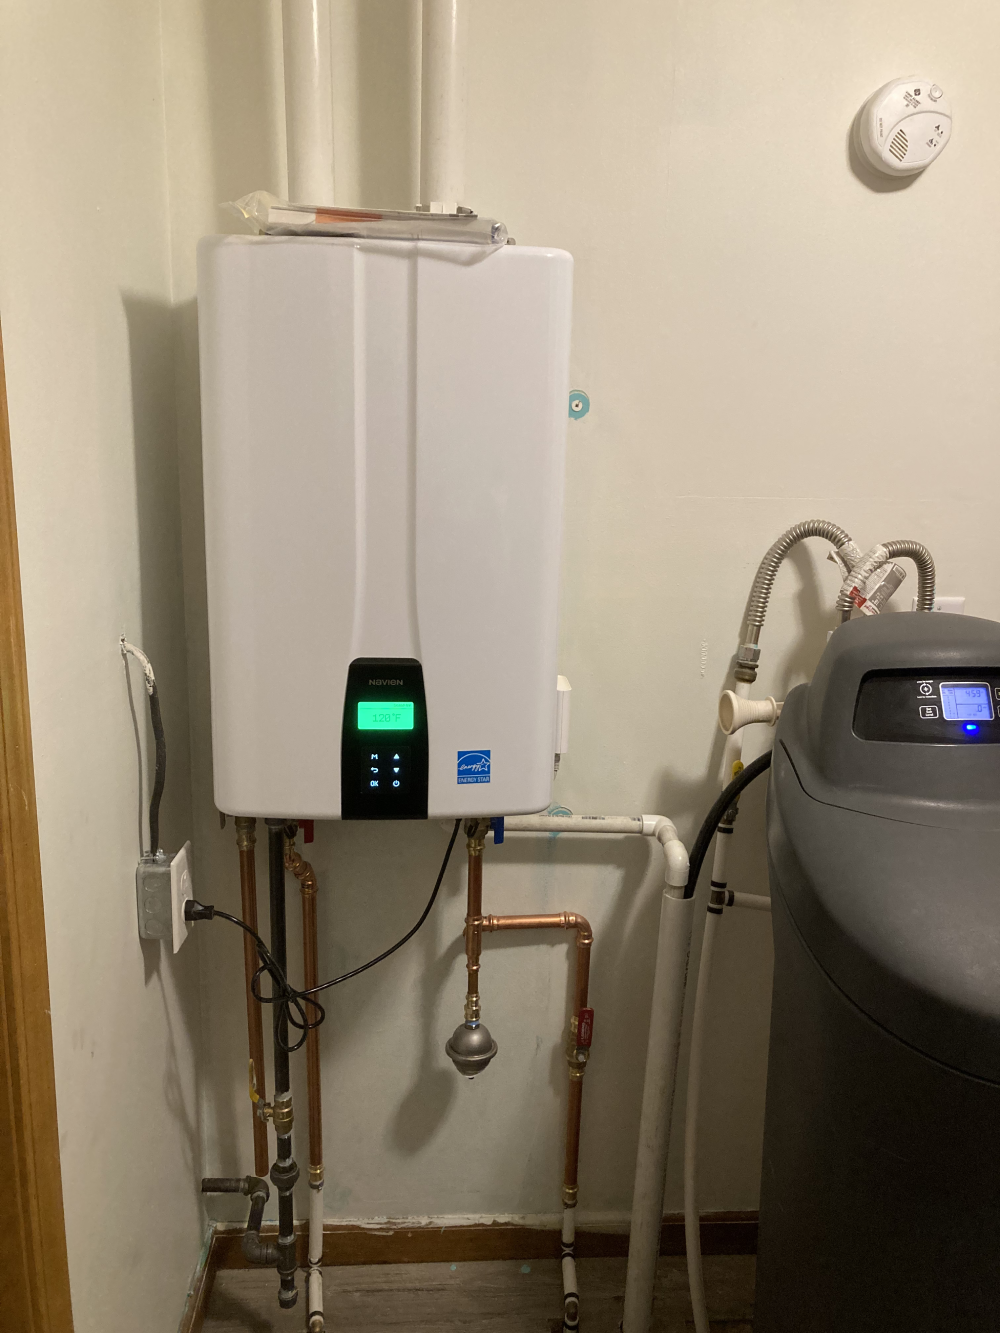
Before tackling the drain tubing, you need to choose the correct placement for the water softener unit itself. For most homes, this is near the main water supply line, ideally before the water heater. This placement allows the entire home to benefit from softened water and protects your water heater from scale buildup.
During water softener installation, also consider:
- Accessibility to the drain for the tubing.
- Availability of a nearby electrical outlet for the softener’s control valve.
- Proximity to a floor drain, utility sink, or standpipe for safe drainage.
The drain tubing must be near a suitable drainage point without requiring excessive length, which can lead to flow issues. Keeping the drain within 20 to 30 feet of the softener is advisable.
Step-by-Step Guide to Connecting Drain Tubing
Here are detailed steps to correctly connect the drain tubing during your water softener installation:
- Turn Off the Water Supply
Begin by shutting off the main water supply. Open faucets together with valves on the water softener to drain any water left in the system and pipes. This step prevents spills or flooding when you cut into plumbing. - Prepare the Drain Tubing and Fittings
Use the tubing supplied with your system or purchase additional ½ inch diameter flexible tubing if needed. Flexible tubing is easier to route but ensure it’s rated for water softener use. - Attach the Drain Tubing to the Softener Valve
The water softener’s control head has a drain outlet. Slide the tubing firmly over this outlet and secure it with a hose clamp to prevent leaks during regeneration cycles when the unit expels mineral discharge water. - Run the Tubing to the Drain Location
Route the tubing to an appropriate drain location such as a floor drain, utility sink, or standpipe. Avoid kinks, loops, or sharp bends that could restrict flow. - Maintain an Air Gap
Plumbing codes and best practices require at least a 1.5-inch air gap between the end of the drain tubing and the flood rim of the drain. This air gap acts as a safety barrier preventing wastewater from backing up into your system or home’s water supply. - Secure the Drain Tubing
Use clips or brackets to fasten the tubing along walls or baseboards to stop it from moving or sagging, which could cause leaks or blockages. - Test the Drain Connection
After installation, run a regeneration cycle or manually flush the system to check the drain tubing for any leaks or blockages. Listen for unusual sounds that may indicate water flowing improperly.
Common Causes of Drain Tubing Leaks and How to Prevent Them
Even after careful installation, leaks occur often when the drain tubing connection is not tight, tubing gets damaged, or backflow happens. Here are common reasons for leaks and the preventive steps:
- Loose or Missing Hose Clamps: Always use good quality hose clamps around the tubing at the softener drain outlet and at the drain connection. Tighten clamps enough to make a snug fit without crushing the tubing.
- Incorrect Drain Tubing Size: Using tubing too large or too small can lead to poor fits and leaks. The standard ½ inch outer diameter flexible tubing is commonly recommended for residential softeners.
- Failing to Maintain an Air Gap: Skipping the air gap voids the safeguard against back-siphoning and often causes wastewater to flow back into the softener or house pipes, leading to contamination and leaks.
- Positioning the Drain Tubing Too Deep: Inserting the tubing too far inside the drain pipe or sink can create a siphoning effect that draws dirty water back into the softener—leading to leaks and water quality issues.
- Tubing Kinks or Blockages: Unexpected clogs or kinks reduce drainage capacity and cause water to overflow or back up.
Essential Tips to Ensure a Leak-Free Water Softener Drain Tubing
To avoid problems, keep these tips in mind during water softener installation:
- Inspect the tubing regularly for wear, cracks, or loose clamps.
- Clean the drainage point to prevent clogs.
- Consider installing a drain line fitting designed specifically with an air gap if required by local plumbing codes.
- Avoid running the drain tubing near electrical wires or heat sources that could damage it.
- If uncertain about plumbing or electrical connections, contact a professional for precise installation.
Maintaining Your Water Softener Drain System
Water softeners generally require minimal maintenance, but monitoring the drain tubing is key to preventing leaks and flooding:
- Check hose clamps every few months and tighten if needed.
- Replace any cracked or fragile tubing immediately.
- Ensure the drain remains free from debris and blockages.
- Watch for water pooling near the softener during regeneration cycles.
Regular upkeep ensures your water softener installation in Kokomo functions optimally, extending product life and protecting your plumbing.
By following these detailed steps and tips during your water softener installation, especially when connecting the drain tubing, you will create a reliable system free of leaks and drainage issues. Proper installation helps maximize your home’s water quality safely and efficiently.
Summers Plumbing Heating & Cooling
1609 Rank Pkwy Ct, Kokomo, IN 46901, United States
(765) 450-1330